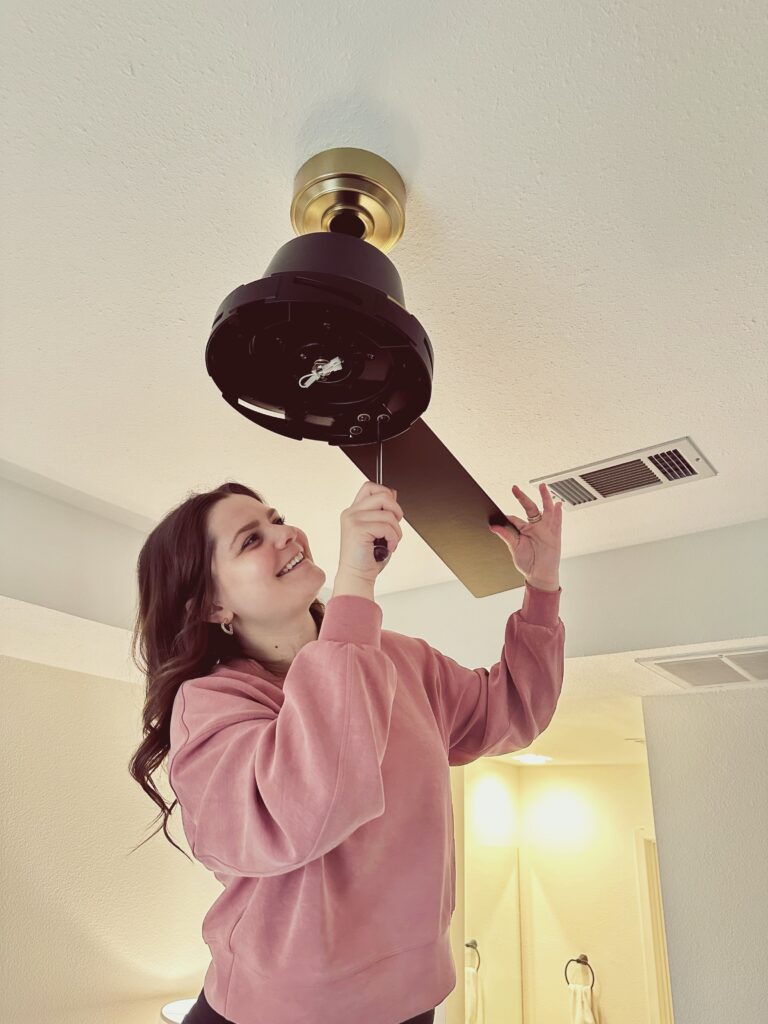
Just do it.
Just kidding, this isn’t a Nike ad, but that’s how this icy weather has me feeling today; a little lazy and uninspired. Good thing I installed this fan earlier in the week 😉
Now, in all seriousness, this blog will walk you through how to install a ceiling fan step by step, so if you came to the blog expecting to learn something new don’t be turned off by my beginning sarcasm. I promise to provide you with some knowledge and help you learn a new skill today!
First thing’s first, you’ll need to find a new fan to replace your existing. If you know me, you know I am disappointed that we are in 2023 and don’t have better looking fans. With all the things that have progressed over the years, I feel like fan designs are still far behind. We’re stuck in a world where you have to choose between an outdated fan or an ultra modern fan. There aren’t a lot of good looking, transitional fans that can fit into various style spaces. We are slowly beginning to see better options, however!
The fans in my home needed upgrading and I knew I wanted them to be black. I’ve also incorporated brass throughout my home, so the small touch of brass on these Kichler fans were perfect!

Keep in mind that the following instructions are specific to the Kichler fans I selected, but there are general rules during this installation that will work for any light.
Things you’ll need:
- Philips head screw driver
- Plastic sheeting (makes for easy clean up)
- Ladder (size needed will depend on your ceiling height)
- Wire Cutters
- Optional: someone with muscles. I opted to use my boyfriend, Jarrod, specifically for this reason 😉
UNBOXING
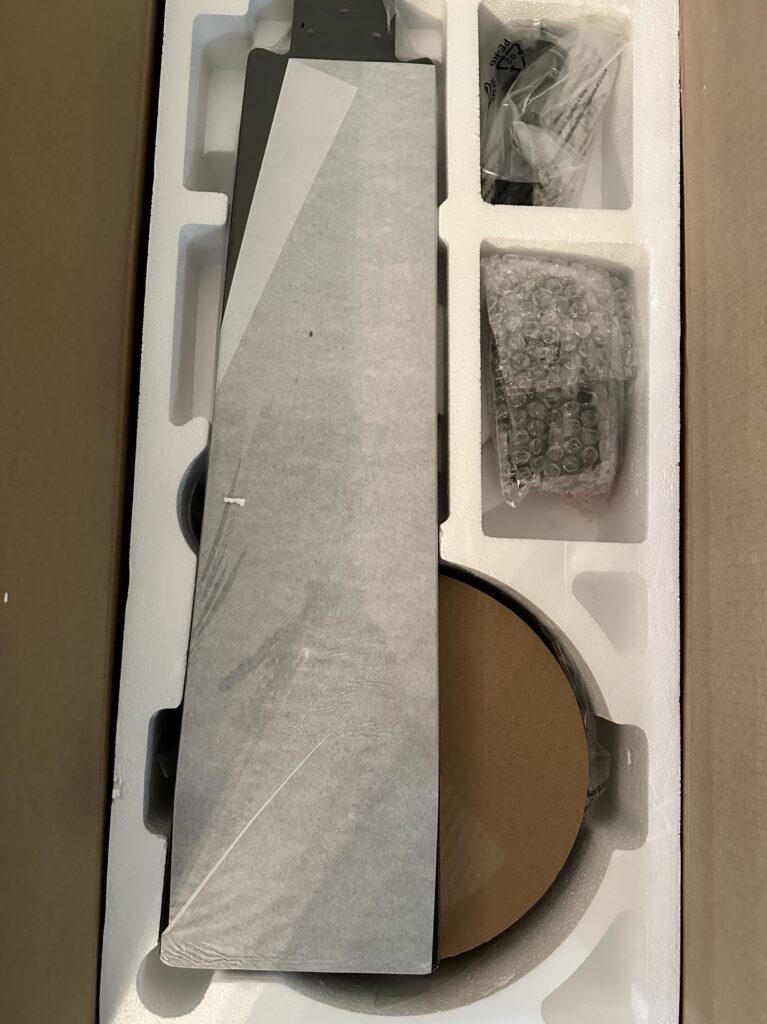
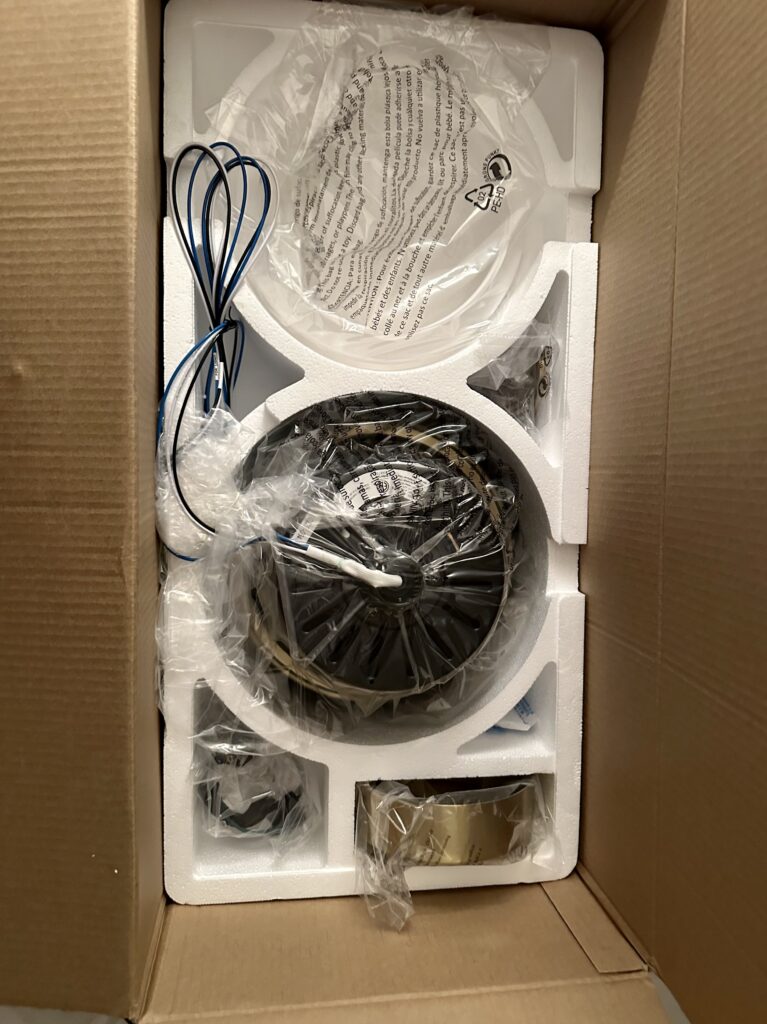
I don’t know about you, but I tend to get ahead of myself and throw directions to the side. My recommendation? Don’t do that. Follow the directions or you’ll be putting the fan together twice, like I did. LOL
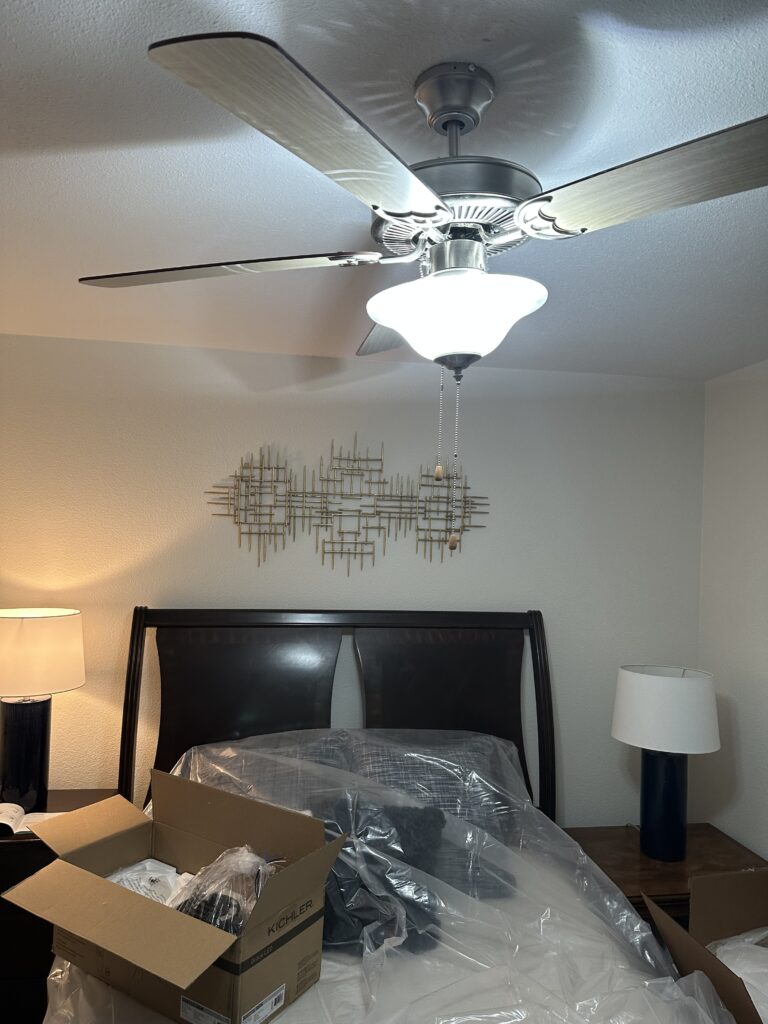
Before you can put up the new fan, you must take down the original. Make sure you turn power off at the appropriate breaker. Most cover plates screw off pretty easily and then you’ll need to disconnect wires. PRO TIP: move all furniture out of your way, cover the floor with plastic sheeting, and grab a ladder. Wiring is easier when you can see above the fan and the plastic will provide a quick clean up! Unscrew each nut connecting the wires and they should separate pretty easily. Lift the old fan from the bracket and voila!
Your new fan should come with a new bracket. Take down the old bracket, and screw in the new bracket. Most homes will have a light box in the ceiling that you screw these into, however my home had ceiling joists above each light fixture that the brackets were screwed into. Next, it’s time to put your new fan together! This fan had a large motor, a black cover plate, a 6″ down rod, a small brass cover piece and a larger brass cover plate for the ceiling. All these items had to be put on the fan in the appropriate order prior to placing the fan on the bracket.
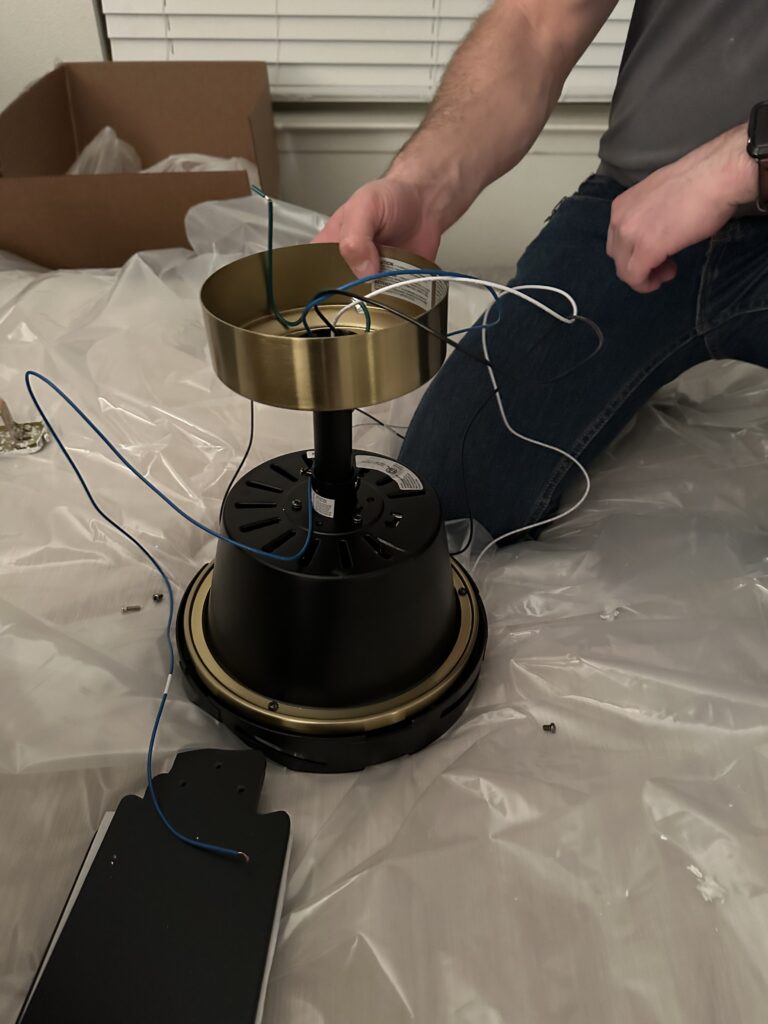
PRO TIP: Depending on your ceiling height, you may need additional/ longer down rods so your fan is a suitable height! A 6″ down rod is recommended for a 9′ ceiling height, a 12″ down rod is recommended for a 10′ ceiling height, and an 18″ down rod is recommended for an 11′ ceiling height, etc.
The bracket that came with this fan had a ground wire attached. My lights all have a ground wire that is tied into the main breaker, so I removed the ground wire from the bracket, and instead attached the ground wire on the fan motor to the ground wire in my attic. If you have a ground wire already accessible, opt to use this instead of the ground wire on the fan bracket.
Something common in newer fans is to include a fan remote that controls the light and the fan speed, vs the standard on/off pull chains we are used to on older fans. Because of this, there is an additional remote control panel that you must connect the wires in the attic to. Once the remote control panel is wired to the attic wires, you’ll need to connect the additional white and black wires on the panel to the wires on the fan. Just like jumping a car, the fan has positive and negative wires that should not cross. Make sure to match white wires to white wires and black wires to black wires.
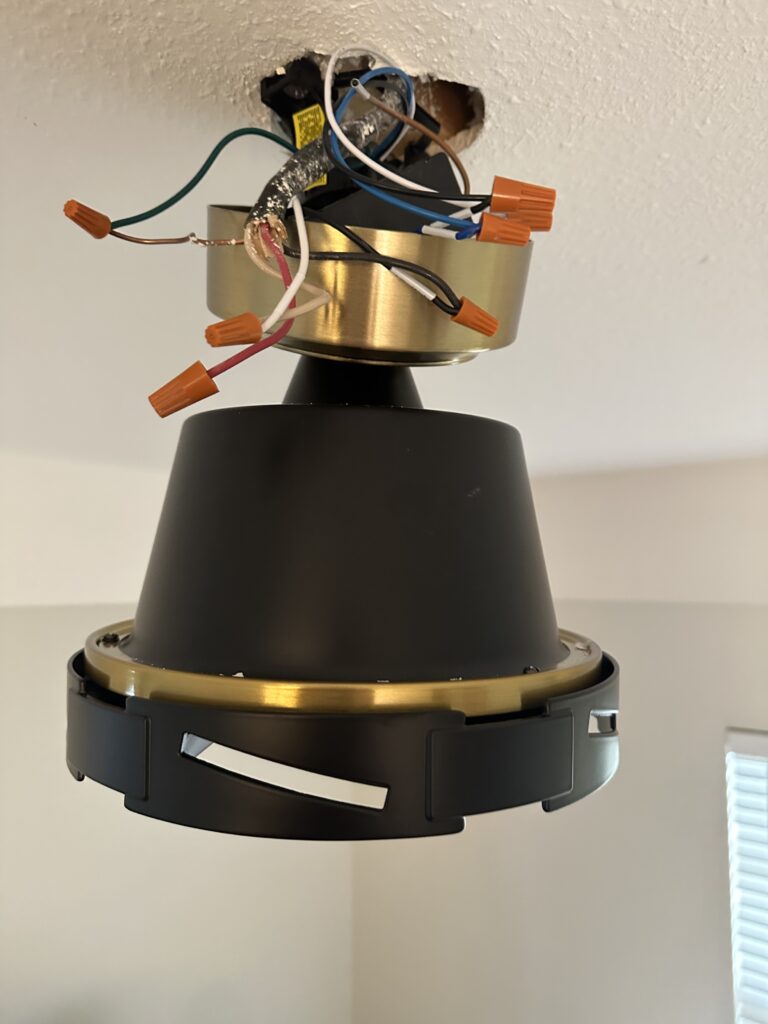
Kichler provides you with plenty of additional wire on the fan to work with. You’ll likely need to use wire cutters to shorten these wires and allow them to be pushed into the hole in the ceiling. Twist applicable wire ends together, and screw on an orange nut (provided in your fan kit). The next task is to hide the remote control panel and wiring into the ceiling. The remote device is not small, so this can be tricky.
You finished the hard part, friends! Congrats! If you made it this far the rest is smooth sailing. The ceiling cover attaches to the ceiling bracket using the extra screws on the outside of the bracket. You’ll use your screw driver to loosen the screws just enough to give the cover something to latch onto. There’s a small hole in the cover that fits the screw perfectly. Once the larger brass plate is covering the hole in the ceiling, the smaller brass piece will screw directly into the bottom of the larger brass cover. You shouldn’t be able to see any wires sticking out at this point.
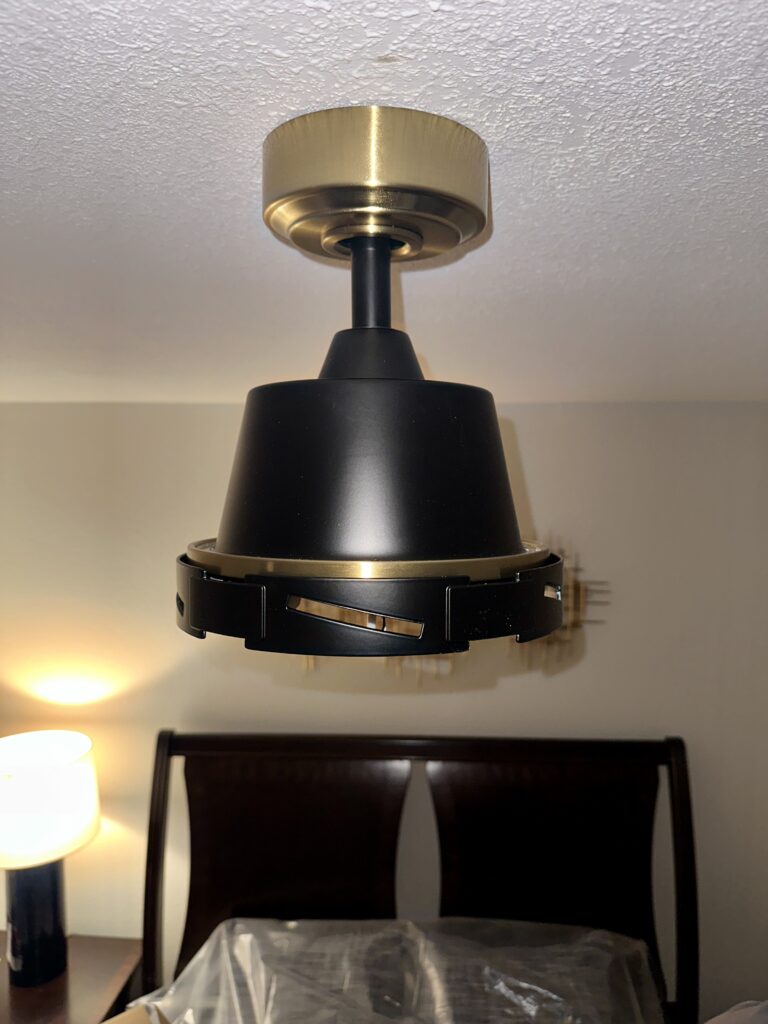
Next up, blades! Since I let Jarrod do all the heavy lifting up to this point, I figured I would step in and help install the fan blades 😉
These were super simple and screwed directly into the bottom of the fan motor. If things start to look crooked, don’t worry! Once you get all the blades installed, the fan will be level.
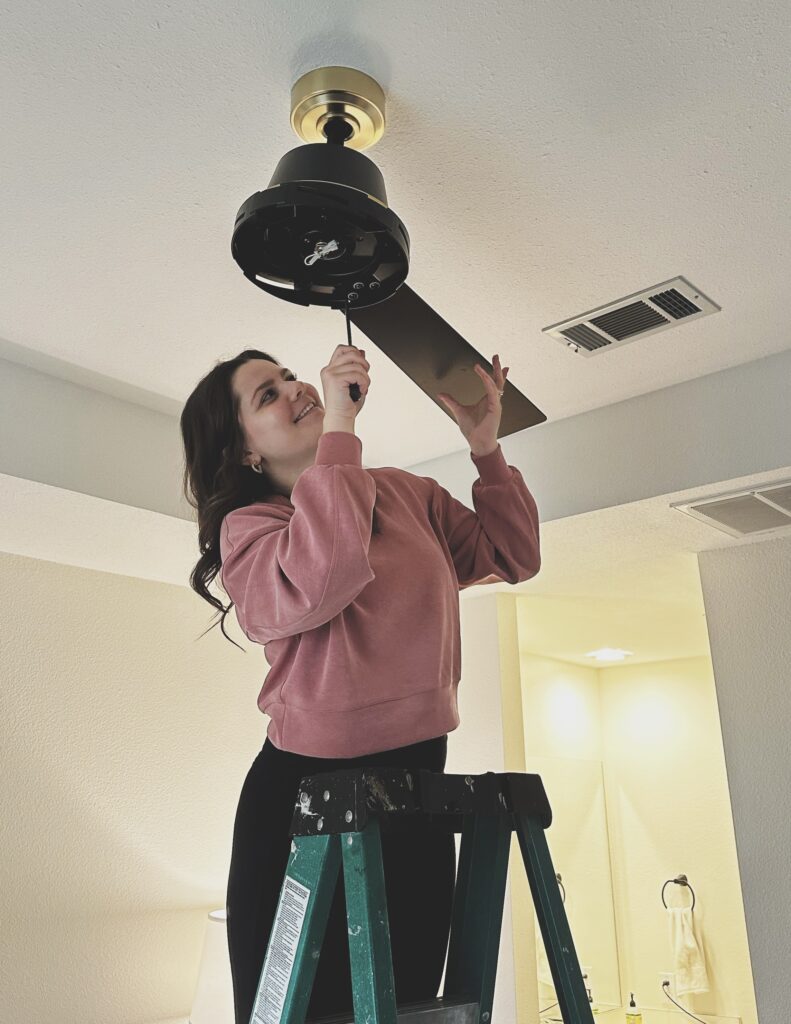
Similar to how you installed the ceiling cover plate, you’ll need to loosen three screws in the center of the bottom of the fan. The LED light kit has wires that snap into the wiring on the bottom of the fan motor. Connect these wires and then fit the loosened screws into the holes on the light kit. Once they are connected, you’ll tighten the screws so the light kit stays in place.
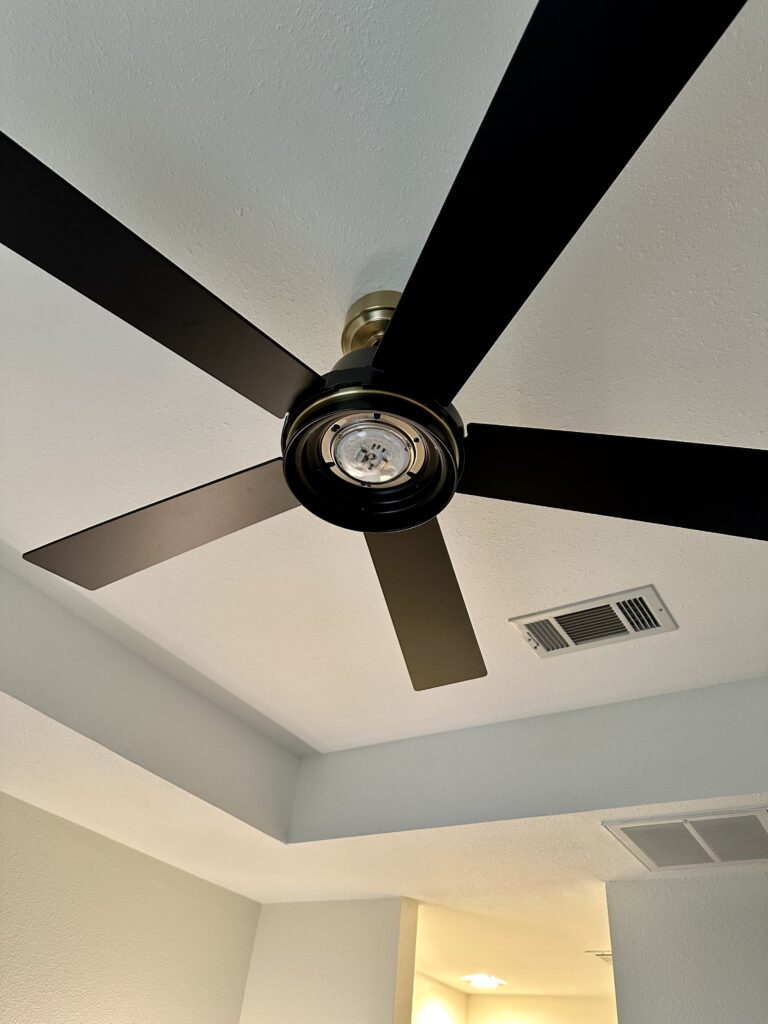
Last but not least, you’ll want to screw on the plastic light cover. And there you have it! A newly installed fan!
BEFORE / AFTER

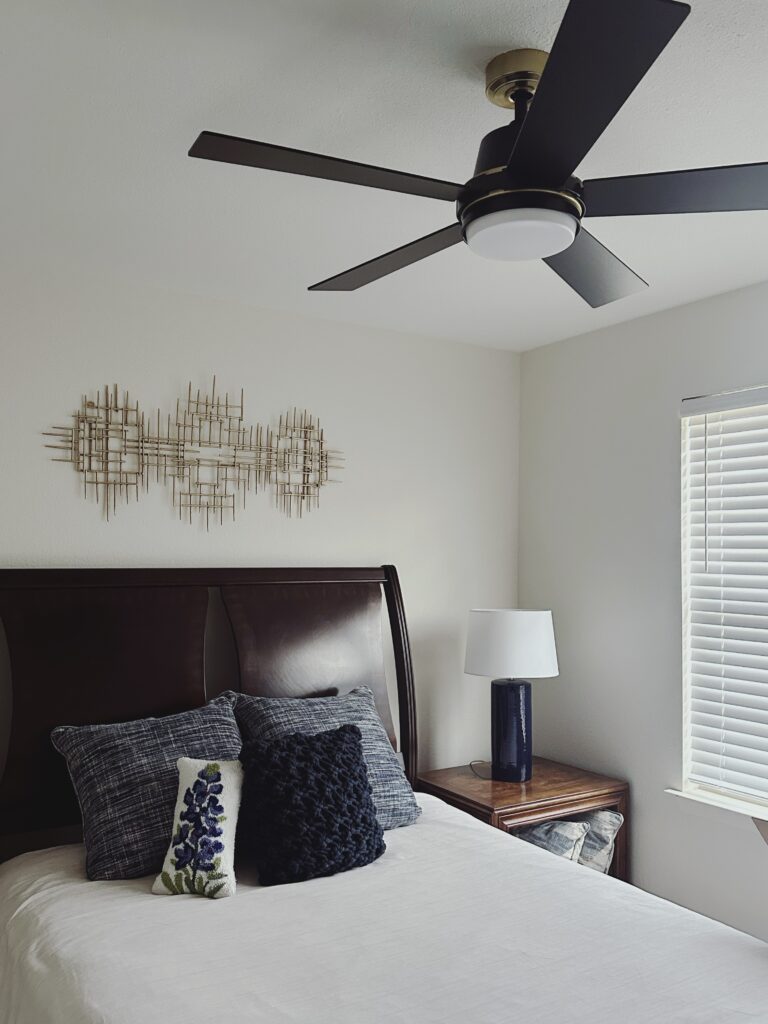
Lighting is an easy way to update any space! I can’t wait to see what light fixtures you switch out in your home. Not brave enough to install a ceiling fan on your own? Reach out to me and we can find an electrician for the job. Have a wonderful week!


