Drapery, when properly executed, has the power to transform a room, adding elegance, warmth, and a touch of personality. However, achieving that perfect drape can be a daunting task. Fear not, friends! In this blog post, we will guide you through the art of hanging drapery, thus ensuring that your curtains are beautifully styled and flawlessly installed to truly enhance your space.
Measure, and Measure Again 😉
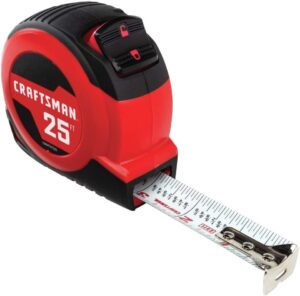
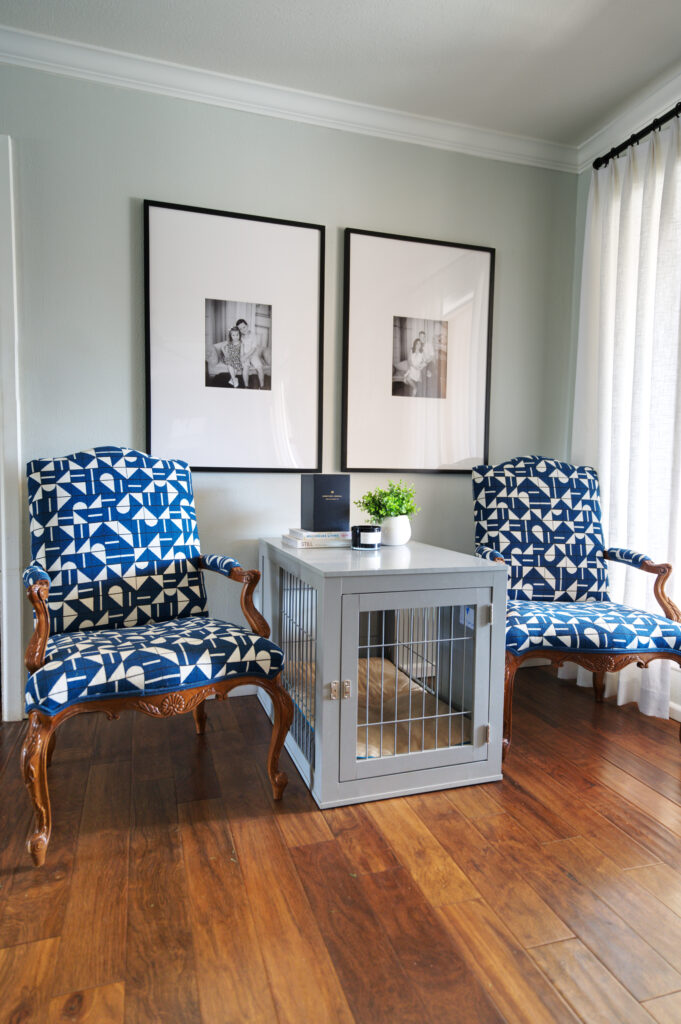
First and foremost, before embarking on your drapery-hanging adventure, take accurate measurements of your windows! Consider the desired length and fullness of your curtains. Drapery panels should just skim the floor at about 1/2″ off the ground and stay about 6-8″ below the ceiling or crown molding in a room.
Handy Measuring Tools
Choose Your Fabric
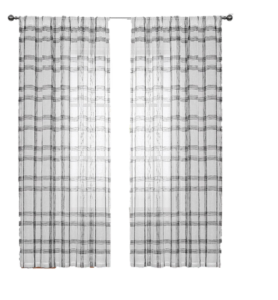
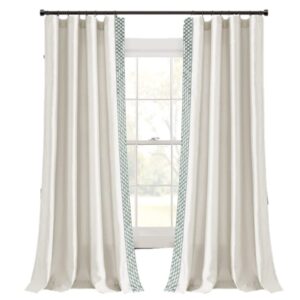
When selecting fabric, think about the functionality of the room. For instance, lightweight sheers allow natural light to filter through, while heavier fabrics provide more privacy and insulation. Consider the overall aesthetic of your space and choose a fabric that complements your style. Don’t be afraid to go bold! Drapery can be a fun place to add pattern and can inspire the entire design for a space. Not into funky patterns? Consider adding a decorative trim to the edge of a solid drapery panel.
While custom drapery is sure to provide you with elegance and drama in your home, there are more budget friendly options available that can still transform any room and add character! Check out some of our online favorites below.
Select Your Hardware
Choosing the right hardware is crucial for proper drapery installation. The hardware should be sturdy enough to support the weight of the curtains and blend seamlessly with your interior décor. Here are a few key components to consider:
a) Curtain Rods: Opt for a high-quality curtain rod that extends beyond the width of your window. For decorative drapery, the rod should extend around 10 inches beyond either side of a window. If drapery panels are to be functional, exact rod extension will be subject to width of the window and the number of drapery panels needed. If you prefer a minimalist and more modern look, select a sleek and simple rod.
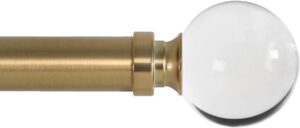
b) Finials: Finials are decorative end pieces that can add a stylish finishing touch to your curtain rods. They come in various designs and finishes – even acrylic! Keep it simple and use a solid end cap finial, or choose to add some flare.
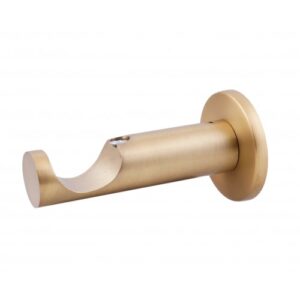
c) Brackets: Brackets secure the rod to the wall and come in different sizes to fit your rod diameter. Brackets should be placed at least every 20 inches along the width of a window. i.e. A 5 foot window would require 3 brackets to remain stable. For decorative drapery placed at windows with shutters, opt for a 5 inch projection bracket. In normal applications, a standard 3 inch projection bracket will do.
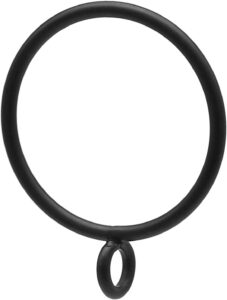
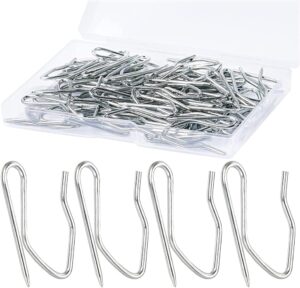
d) Curtain Rings: Curtain rings provide a seamless glide for your curtains along the rod. Choose rings that match the style and finish of your rod.
Drapery Hardware
Installation Techniques
Once you have your measurements, fabric, and hardware in place, it’s time to install your drapery. Follow these steps for a flawless hanging process:
a) Mounting the Rods: Use a level to ensure your rod is installed straight. As a general rule, curtains should hang between 6-8″ below the ceiling or crown molding in a space. This will create the illusion of taller windows and maximize natural light.
b) Attaching the Rings: Slide the curtain rings onto the rod. Don’t worry about spacing them evenly, you’ll be able to move them around once you attach your drapery.
c) Securing the Finials: Attach the finials to each end of the rod, making sure they are secure and evenly aligned.
d) Hanging the Drapery: With the rings or hooks in place, gently hang the curtains on the rod, adjusting them to achieve the desired fullness and length. If needed, use a steamer to remove any creases or wrinkles.
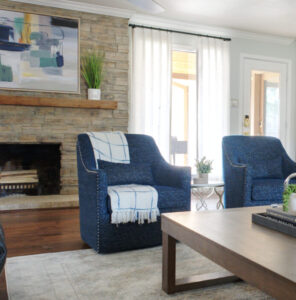
Common Drapery Troubleshooting Issues
- Sagging drapery: Consider adding another bracket for extra stability. Did you follow the 20 inch rule?
- Uneven drapery: Adjust the brackets and rod as needed to make sure everything is level.
- Light gaps: Use blackout drapery or add a lining to prevent light from coming in.
- Drapery ordered was too short: Add a fabric or trim to the bottom of the drapery to give it extra length.
Drapery can really add color, texture, and an element of sophistication to any room. Are you ready to spice up a space in your home with new drapery? Give us a call, or reach out to us here. We can’t wait to hear from you!


